
A humidity test chamber is a vital piece of equipment for reliability testing, used to simulate humid or damp environments and evaluate the performance of products (such as electronic components, automotive parts, and medical devices) under such conditions. Proper and regular maintenance not only extends the service life of the chamber but also ensures the accuracy, stability, and repeatability of test results. Neglecting maintenance can lead to sensor drift, humidity control failure, component wear, and even costly downtime. Below are the top 5 essential maintenance tips to keep your humidity test chamber in optimal condition.
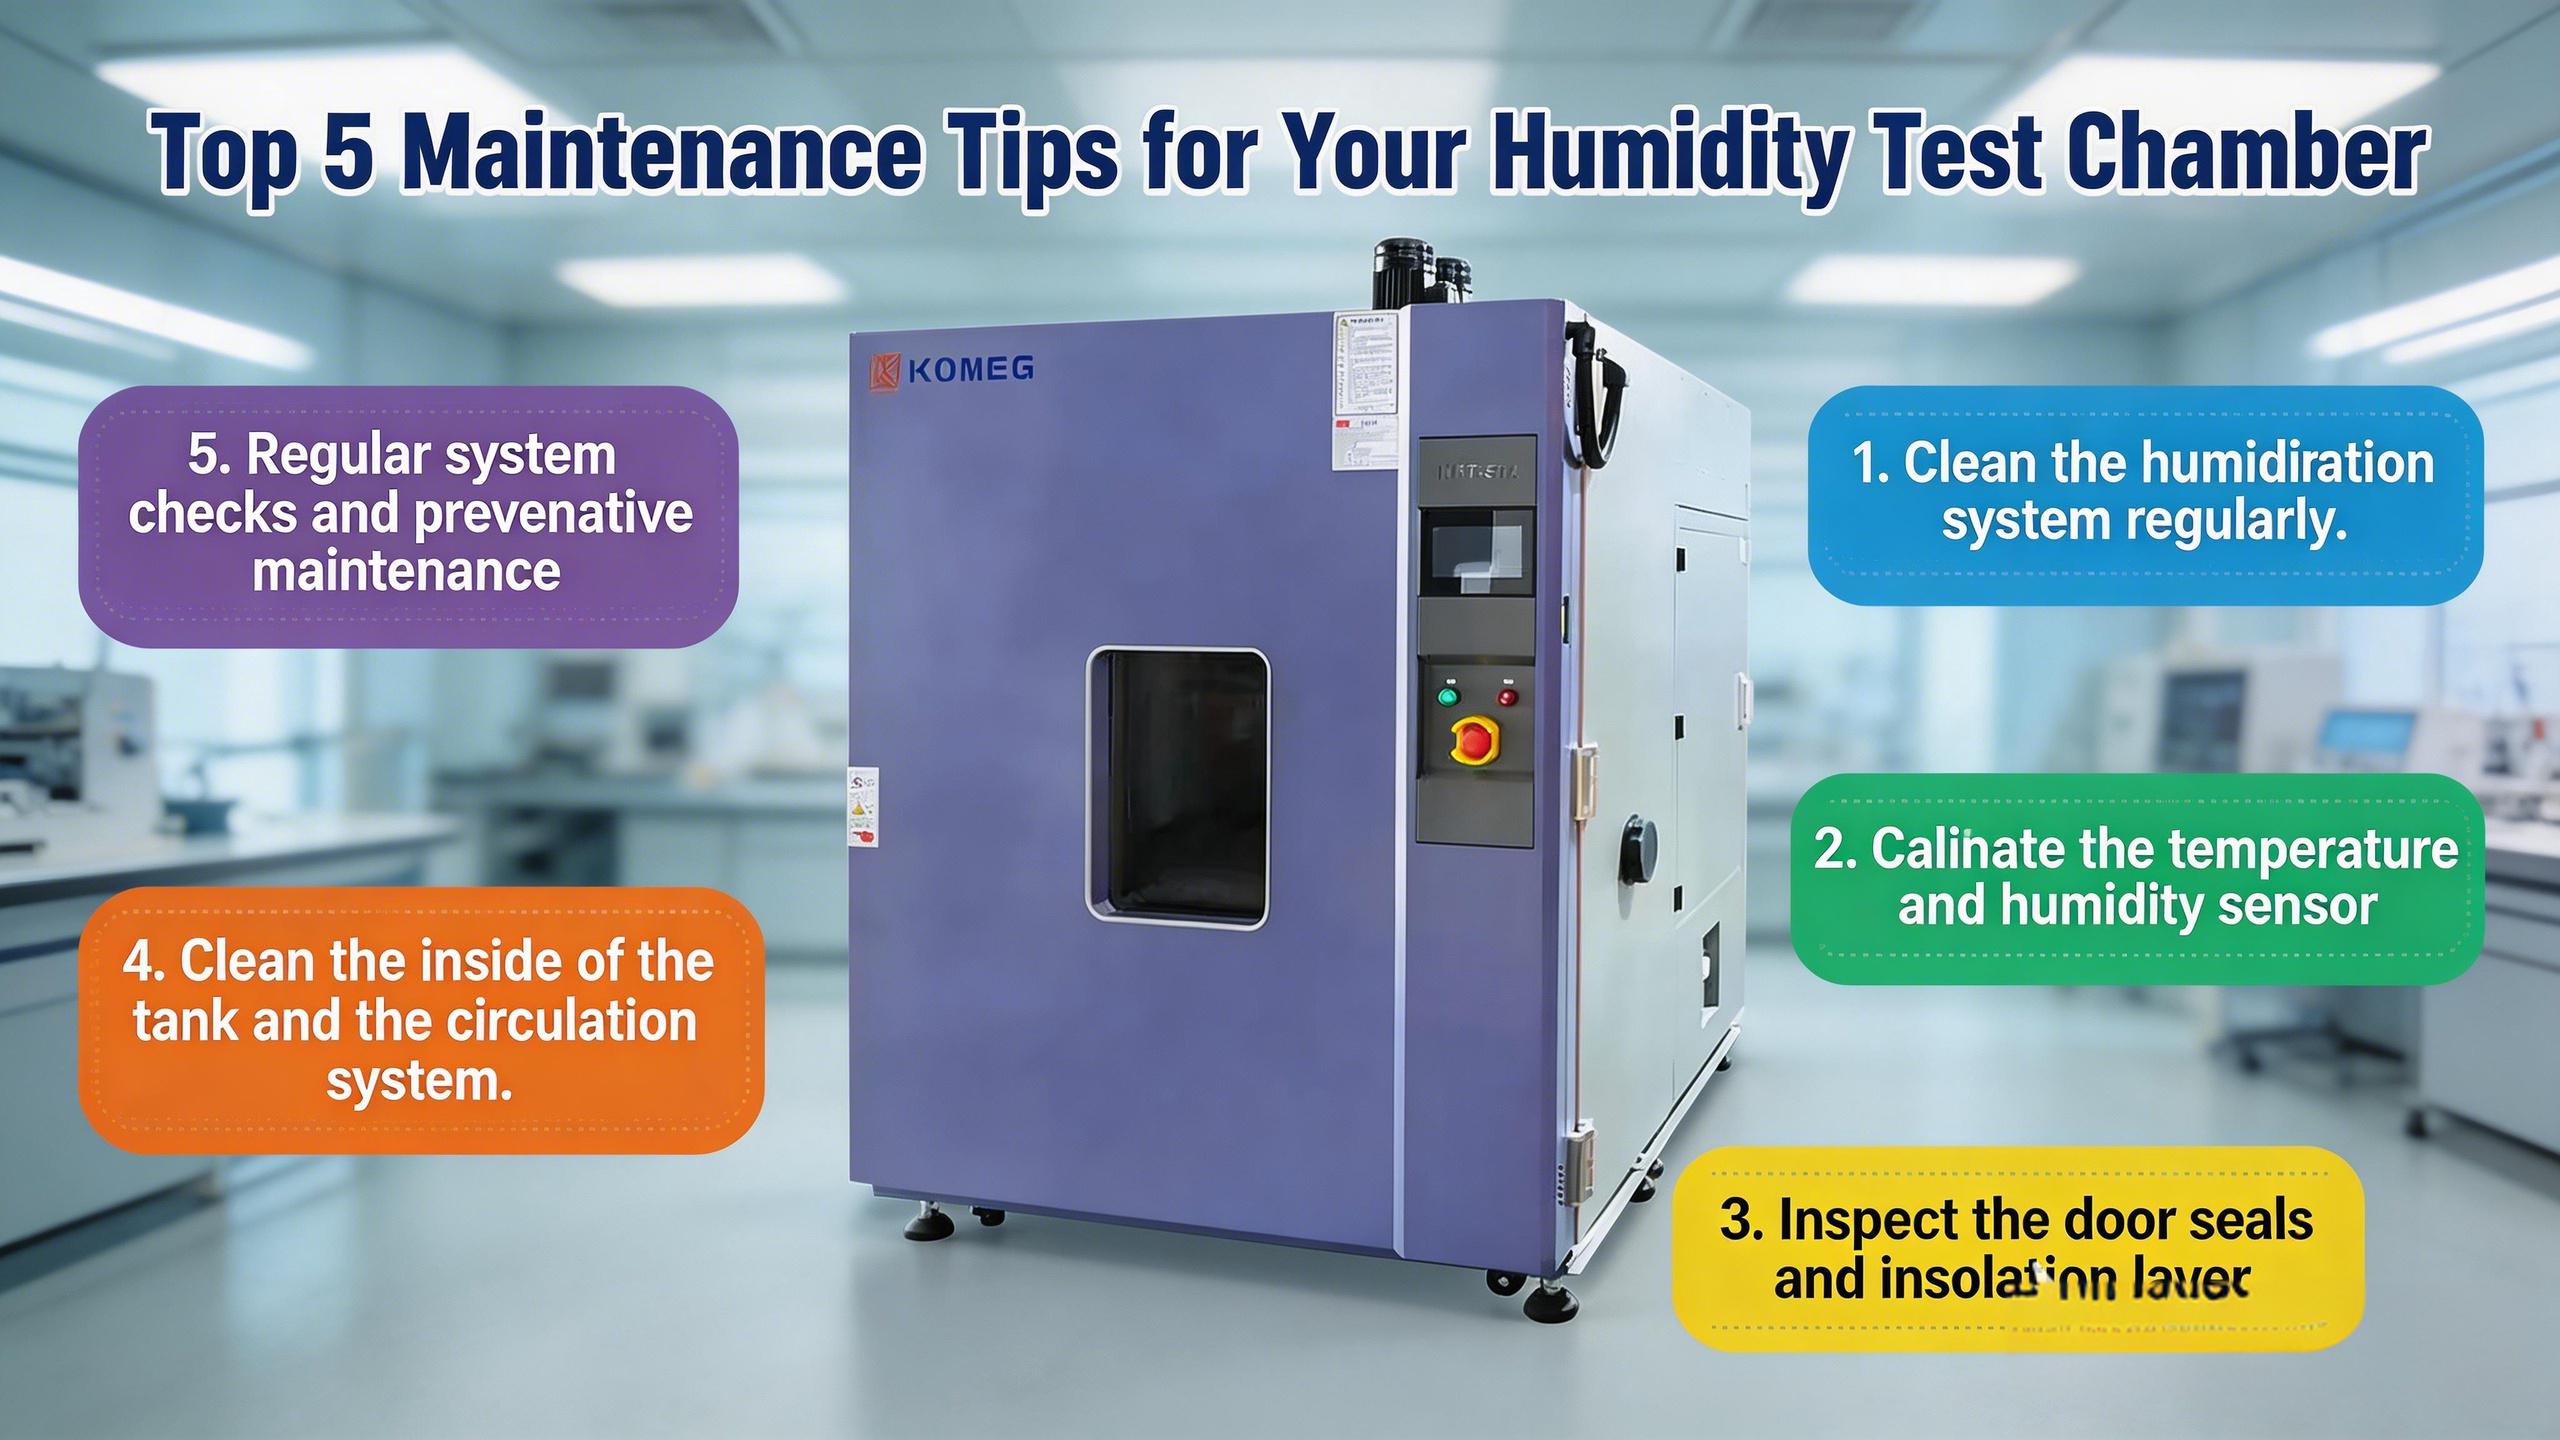
1. Regularly Clean the Humidification System (Prevent Clogging and Contamination)
The humidification system (including the water tank, humidifier, and water pipes) is the core component that controls the chamber’s humidity. Over time, mineral deposits (from tap water), algae, and dirt can accumulate, leading to clogged pipes, reduced humidification efficiency, and even bacterial growth that may contaminate test samples.
– Clean the water tank: Drain the remaining water in the tank every 1–2 weeks, then rinse it thoroughly with distilled water. For stubborn mineral deposits, use a mild descaling agent (avoid corrosive chemicals) and scrub gently with a soft brush, then rinse again to ensure no residue remains.
– Maintain the humidifier: Depending on usage frequency, clean the humidifier’s heating element or ultrasonic oscillator every 1–3 months. Remove any scale buildup to ensure consistent humidification output. For ultrasonic humidifiers, replace the water filter regularly (per the manufacturer’s recommendation).
– Use the right water: Always use deionized or distilled water instead of tap water. Tap water contains minerals that accelerate scale formation and damage the humidification system, reducing the chamber’s lifespan.
2. Calibrate Humidity and Temperature Sensors (Ensure Test Accuracy)
Humidity and temperature sensors are critical for measuring and controlling the chamber’s internal environment. Over time, sensors may drift due to wear, dust, or environmental factors, leading to inaccurate test data—this is particularly problematic for compliance with industry standards (e.g., IEC 60068, MIL-STD-810).
– Calibration frequency: Calibrate the humidity and temperature sensors at least once a year. For high-precision testing (e.g., medical or aerospace applications), calibrate every 6 months to ensure accuracy.
– Calibration method: Use a calibrated reference sensor or a professional calibration tool traceable to national metrology standards (e.g., NIST, PTB). Follow the manufacturer’s guidelines for calibration procedures, and keep a detailed record of calibration results for compliance audits.
– Clean sensors: Before calibration, gently wipe the sensor surface with a clean, dry cloth to remove dust or moisture buildup, which can affect sensor performance.
3. Inspect and Maintain Seals and Insulation (Prevent Humidity Leakage)
The chamber’s door seals (gaskets) and insulation play a key role in maintaining stable internal humidity and temperature. Damaged or worn seals can cause humidity leakage, leading to increased energy consumption, unstable test conditions, and reduced control accuracy.
– Check door seals regularly: Inspect the rubber gaskets around the chamber door every month for cracks, wear, or deformation. If the seal is loose, cracked, or hardened, replace it immediately to prevent leakage. Clean the seal with a damp cloth regularly to remove dust and debris that may affect its sealing performance.
– Maintain insulation: Check the chamber’s insulation layer (especially the walls, door, and ceiling) for damage or moisture absorption. Damaged insulation can lead to temperature and humidity fluctuations. If insulation is compromised, contact the manufacturer for repair or replacement.
– Ensure proper door closure: Always close the chamber door firmly to ensure a tight seal. Avoid slamming the door, as this can damage the gaskets and hinges over time.
4. Clean the Chamber Interior and Air Circulation System (Avoid Contamination and Uneven Humidity)
The chamber’s interior and air circulation system (fans, vents, and filters) can accumulate dust, sample residues, and moisture, which not only contaminate test samples but also block airflow, leading to uneven humidity distribution and reduced test accuracy.
– Clean the interior: After each test batch, wipe the chamber interior with a clean, damp cloth to remove sample residues, dust, or moisture. For stubborn stains, use a mild, non-corrosive cleaner (avoid harsh chemicals that may damage the chamber’s interior surface). Ensure the interior is completely dry before starting a new test to prevent mold growth.
– Maintain the air circulation system: Clean the chamber’s fans and vents every 1–2 months to remove dust buildup. Replace the air filter every 3–6 months (or more frequently if the chamber is used in a dusty environment) to ensure unobstructed airflow. Poor airflow can cause uneven humidity and temperature throughout the test volume.
5. Conduct Regular System Checks and Preventive Maintenance (Avoid Unexpected Failures)
Proactive system checks and preventive maintenance can help identify potential issues early, avoiding unexpected breakdowns and costly repairs. This is especially important for chambers used in high-volume or critical testing scenarios.
– Daily checks: Before starting a test, check the water level in the humidification tank, ensure all controls and displays are functioning normally, and verify that the door seal is tight.
– Monthly checks: Inspect the power supply, wiring, and connectors for damage or loose connections. Check the compressor (if applicable) for unusual noise or overheating, and ensure the drainage system is unobstructed (to prevent water buildup).
– Annual preventive maintenance: Schedule a professional preventive maintenance service with the manufacturer (e.g., KOMEG) to inspect all components, including the humidifier, compressor, sensors, and control system. The service team can replace worn parts, adjust settings, and ensure the chamber is operating at peak performance.
– Keep maintenance records: Maintain a detailed log of all maintenance activities, including cleaning, calibration, part replacements, and system checks. This log helps track the chamber’s performance over time and provides valuable information for troubleshooting and compliance audits.
A well-maintained humidity test chamber not only ensures accurate and reliable test results but also extends the equipment’s service life and reduces long-term operational costs. By following these top 5 maintenance tips, you can minimize downtime, avoid costly repairs, and ensure your chamber continues to meet your testing needs for years to come. Always refer to your chamber’s user manual for manufacturer-specific maintenance guidelines, and consult a professional technician for complex issues or repairs.