
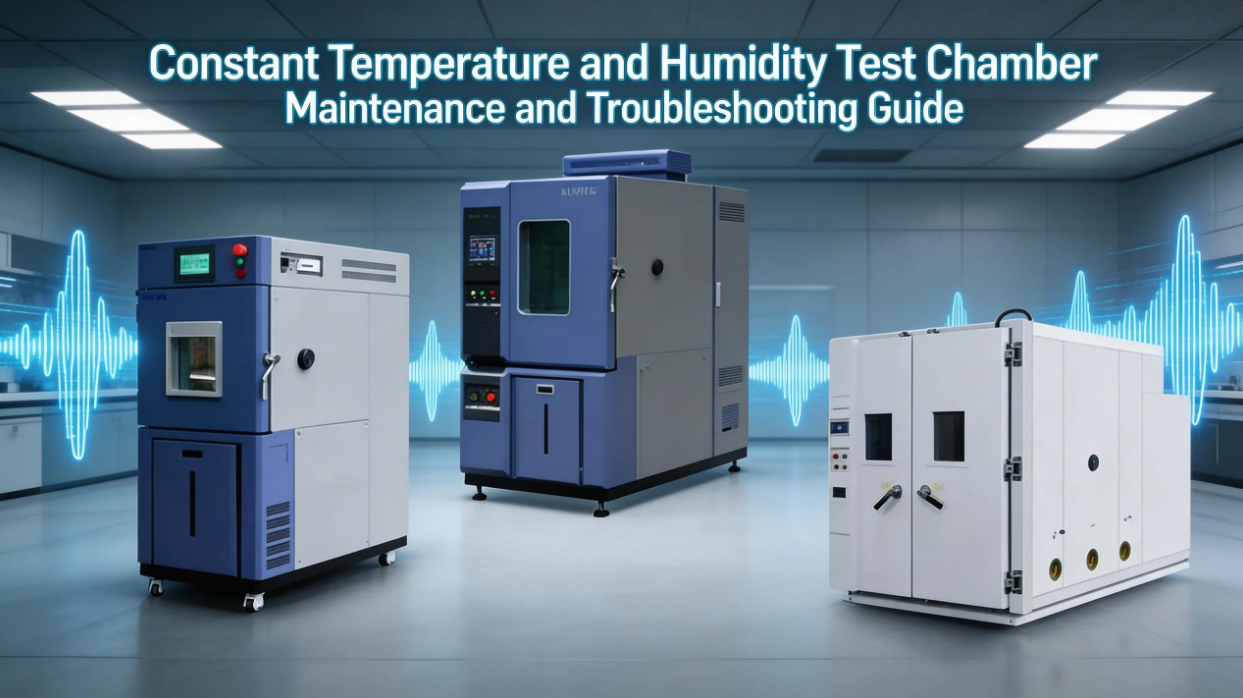
The constant temperature and humidity test chamber is equipped with a precise temperature and humidity control system, mainly used for high-temperature, low-temperature, and varying-humidity tests. It is suitable for temperature and humidity change tests and inspections in industries such as electronics and electrical engineering, food, plastics and rubber, automotive manufacturing, lamps, chemicals, building materials, textiles and garments, etc.
Understanding the scientific maintenance of the constant temperature and humidity test chamber in daily use can not only greatly extend the service life of the equipment but also effectively avoid technical failures caused by inadequate maintenance. Today, KOMEG will talk about common problems, repairs, and maintenance of the constant temperature and humidity test chamber.
01 Why the humidity fails to reach the set value during humidity testing
During the humidity test of the constant temperature and humidity test chamber:
1. Actual humidity reaches 100%
Check if the wet bulb gauze is properly fitted on the humidity sensor.
It may be caused by dry gauze on the wet bulb sensor; please check whether the water tank of the wet bulb sensor is short of water.
The wet bulb gauze becomes dry and hard due to its inability to absorb water, which may result from long-term use or poor water purity. Simply replace or clean the gauze to solve the problem.
2. Actual humidity is much lower than the target humidity
Check whether the humidity range is set correctly. A large difference between dry-bulb and wet-bulb temperatures means low humidity, while a small difference means high humidity.
02 How to solve slow cooling or failure to reach low temperature targets
First, observe the temperature change. If cooling is too slow, check the following:
1. Dry working chamber
If a low-temperature test is run immediately after a rapid temperature change test, the evaporator may frost or ice, slowing down cooling. If there is water accumulation, it may be caused by poor drainage, blocked pipes, or uneven foaming; drying by heating is recommended. If the chamber is clean and dry after a high-temperature and high-humidity test, heating is not required. Ensure the working chamber is dry before low-temperature testing.
2. Sample placement
Check if too many test samples are placed in the working chamber, affecting the cooling rate.
3. Refrigeration system failure
After eliminating the above causes, consider a refrigeration system fault. Maintenance of the refrigeration system must be performed by professional factory technicians.
4. Temperature rises after reaching a certain value
Check if the test chamber load generates heat.
Check if heating and cooling in thermal and cold balance offset each other, causing excessive energy consumption and reduced output.
Failure of the temperature sampling unit (sensor).
Contact the KOMEG professional after-sales service for inspection and repair.
03 What to do if the temperature fails to reach the set value in high-temperature testing
Check the electrical system and troubleshoot one by one:
1. Slow heating rate
Check if the air circulation system works normally.
Insufficient heating power.
Slow heating may be caused by the heat absorption of load materials.
Have professional maintenance personnel inspect the circuit to confirm whether the heater is faulty.
2. Rapid temperature rise
Check if the air circulation motor runs normally. If there is severe overshoot, tune the PID settings. If the temperature rises directly and triggers over-temperature protection, the sensor or circuit is faulty — contact KOMEG after-sales service immediately.
04 How to handle abnormal pressure displayed in temperature control
1. Air-cooled models
High ambient temperature and poor heat dissipation.
Check if the equipment is placed at least 30 cm away from walls.
Check if the equipment is in a sealed space, which raises ambient temperature, causes high pressure on the high-pressure side of the compressor and triggers an alarm.
2. Water-cooled models
Alarm caused by high ambient temperature, cooling water issues, abnormal pressure, temperature, or flow (proper commissioning avoids overpressure alarms). Professional inspection and repair are required.
05 Correct installation of the wet bulb gauze for constant temperature and humidity test chambers
The wet bulb gauze plays a key role in humidity sensing during humidity testing. Its correct installation and maintenance must follow standards:
1. Position
Soak the lower end of the gauze in the water tank for better humidity sensing, then hang or fit it onto the humidity sensor.
2. Maintenance and inspection
The upper end of the gauze must be fixed on the wet bulb sensor, with the lower end placed in the water tank for easy water absorption. Improper installation leads to false 100% humidity or uncontrollable humidity. Replace the gauze promptly if it yellows, dries out, or absorbs poorly.
06 What to do if the constant temperature and humidity test chamber is out of use for a long time
If the equipment must be idle for special reasons, take the following protection measures:
Remove all items inside, unplug the power cord, and clean the interior and exterior.
Dehumidification
Drain all water, set the temperature to 50℃, and run for 1 hour, then unplug and store.
Store in a dry, ventilated area away from direct sunlight. Keep the chamber stable after moving.
Do not cover with plastic bags in ordinary indoor environments to avoid moisture trapping, rust, and electrical component damage. For coastal or high-humidity areas, plastic covering is recommended to prevent moisture intrusion.
If possible, power on the equipment monthly and run the compressor normally for 30 to 60 minutes before shutting down.
07 Daily maintenance of constant temperature and humidity test chambers
Ⅰ The equipment must be operated and maintained by designated personnel, in strict accordance with operating procedures. Disconnect power before cleaning or maintenance to prevent electric shock.
Ⅱ Test the main power switch (earth leakage circuit breaker) monthly to ensure normal function. Steps: turn on the main power, press the test button — the circuit breaker lever should trip if functioning properly.
Ⅲ Cooling tower protection
Clean the chiller cooling water filter and cooling tower every 3–6 months to ensure a clean and stable water supply. If the tower has a protective net and good air quality, replace cooling water every 1–3 months.
Ⅳ The leakage, overload, and short-circuit protection features are factory-set and shall not be adjusted arbitrarily. If the circuit breaker trips due to short circuit, inspect the contacts and repair if severely burned or dented.
Ⅴ Clean dust from the electrical compartment and water circuit compartment with a vacuum cleaner every six months.
Ⅵ Establish an equipment usage record to facilitate maintenance. Record operation time, test type, ambient temperature, fault details, and all maintenance content.
In summary, most problems can be avoided with regular maintenance. For major technical issues, contact KOMEG after-sales service promptly.
KOMEG Technology is a high-tech enterprise dedicated to the R&D, production, sales, and service of reliability test equipment, providing integrated solutions for environmental test equipment. Adhering to the philosophy of “Continuously Creating Value for Users”, KOMEG keeps improving product quality and services, delivering high-quality reliability solutions, and promoting the development of China’s environmental test industry and national economy.
About KOMEG
Founded in 1990, KOMEG has over 30 years of R&D and manufacturing experience, offering a full range of equipment for various industries.
Main products:
Temperature (humidity) cycling test chambers
Thermal shock test chambers
Rapid temperature change test chambers
ESS environmental stress screening test chambers
Climatic aging test chambers
Altitude temperature environmental test chambers
Large walk-in environmental test rooms
and other reliability test equipment.